hugo
一、hugo安装
Hugo是golang编写的开源快速搭建静态网站引擎,官方文档https://gohugo.io/getting-started/
这里以Linux系统为例进行安装,mac及windows系统安装可查看官方文档。
1、下载对应系统版本的release https://github.com/gohugoio/hugo/releases
将release文件放在/usr/local/bin目录下,这样hugo可以在任意地方运行,或者将hugo所在目录加入环境变量中。
2、下载GitHub源码进行编译安装(需要下载Go1.11以上版本)
mkdir $HOME/src
cd $HOME/src
git clone https://github.com/gohugoio/hugo.git
cd hugo
go install
安装好后可以运行下面命令查看是否安装成功
hugo version

二、生成静态网页
1、生成网页
$ hugo new site abc.com
$ tree
.
├── archetypes
│   └── default.md
├── config.toml
├── content
├── data
├── layouts
├── static
└── themes
通过hugo new site命令生成abc.com静态网页目录,目录结构如上。
archetypes保存了所写文档的格式
config.toml文件保存了相关配置信息(hugo支持yaml、toml、json三种格式)
content中保存了所写的具体文档内容
data是对不同结构的配置信息
layouts保存对应网页显示的信息
static保存了网页的图片布局等信息
themes是主题信息
进入abc.com目录,运行下面命令生成相关静态网页
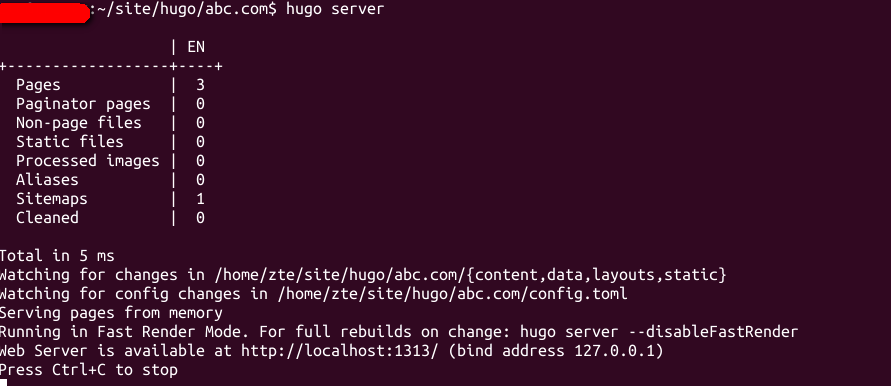
可以通过浏览器输入localhost:1313查看网页(此时没有添加主题,会出现404页面)。
2、添加主题
进入themes目录(如果没有,手动添加),下载主题 https://themes.gohugo.io/ 查找需要的主题,进入GitHub上下载。
$ git clone https://github.com/htr3n/hyde-hyde
然后修改config.toml文件,如下
# Hostname
baseURL = "http://123.github.io/"

# Language
languageCode = "en-us"

# Title
title = "King"

# Copyright
copyright = "?019 answer-king"

# Metadata format
# "yaml", "toml", "json"
metaDataFormat = "toml"

# Theme to use (located in /themes/THEMENAME/)
theme = "hyde-y"

# Pagination
paginate = 20
paginatePath = "page"

# Enable Disqus integration
disqusShortname = "your_disqus_shortname"

[permalinks]
    post = "/:year/:month/:day/:slug/"
    code = "/:slug/"

[taxonomies]
    topic = "topics"

[author]
    name = "123"
    email = "123@gmail.com"

#
# All parameters below here are optional and can be mixed and matched.
#
[params]
    # You can use markdown here.
    brand = "King"
    topline = "\u4e00\u6c5f\u6625\u6c34\u5411\u4e1c\u6d41"
    footline = "Welcome to my blog!!"

    # Sidebar position
    # false, true, "left", "right"
    sidebar = "left"

    # Text for the top menu link, which goes the root URL for the site.
    # Default (if omitted) is "Home".
    home = "\u4e3b\u9875"

    # Select a syntax highight for highlight.js
    # Check the static/css/highlight directory for options.
    # Leave unset to fall back to default hugo highlighter instead of highlight.js
    highlight = "default"

    # Google Analytics.
    googleAnalytics = "Your Google Analytics tracking code"

    # Sidebar social links.
    github = "answer91" # Your Github profile ID
    bitbucket = "" # Your Bitbucket profile ID
    linkedin = "" # Your LinkedIn profile ID (from public URL)
    googleplus = "" # Your Google+ profile ID
    facebook = "" # Your Facebook profile ID
    twitter = "" # Your Twitter profile ID
    youtube = ""  # Your Youtube channel ID
    flattr = ""  # populate with your flattr uid
    flickr = "" # Your Flickr profile ID
    vimeo = "" # Your Vimeo profile ID

    # Sidebar RSS link: will only show up if there is a RSS feed
    # associated with the current page
    rss = true

[blackfriday]
#    angledQuotes = true
#    fractions = false
#    hrefTargetBlank = false
#    latexDashes = true
#    plainIdAnchors = true
#    extensions = []
#    extensionmask = []
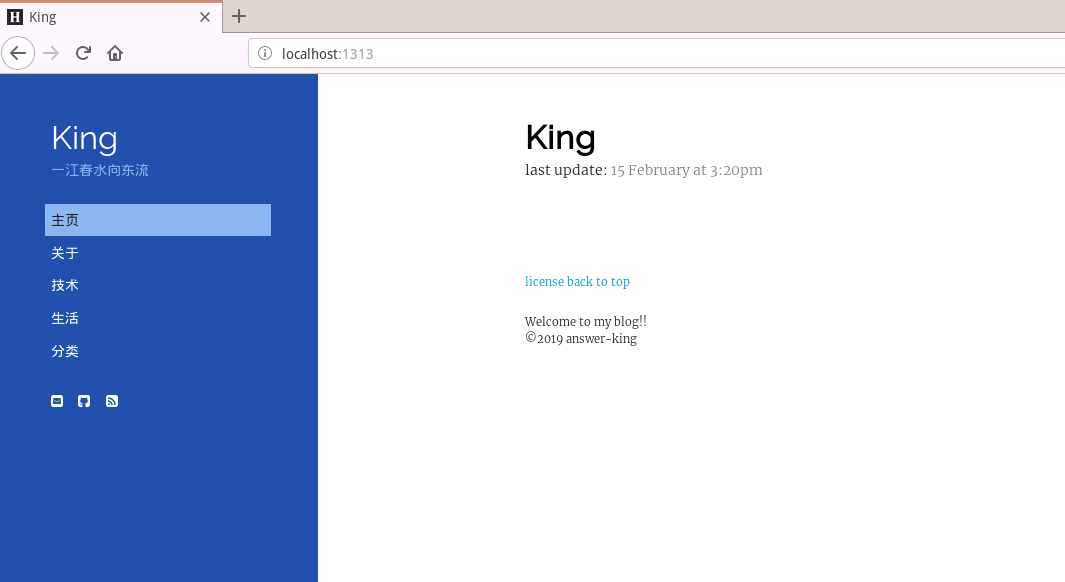
此时重新运行hugo server,通过浏览器就可以看到具体的网页了。
3、添加post内容
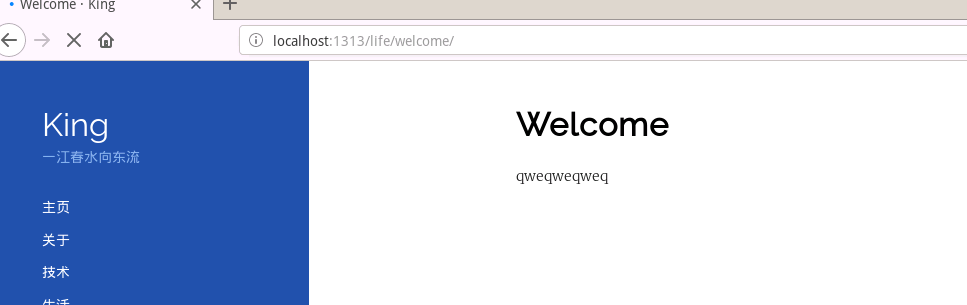
$ hugo new welcome.md
content目录中会出现welcome.md文件,里面内容为
---
title: "Welcome"
date: 2019-02-15T16:45:09+08:00
draft: true
---
qweqweqweq
hugo支持markdown文件,后面可以添加相应的内容(markdown语法)
如果不需要其他复杂的形式,就可以这样在站点写post了。
在前面添加的主题基础上操作,主题不同可能具体的方法位置不同,区别对待。
1、添加多个目录
content中目录即对应最终形成网页目录结构,可以通过添加文件夹进行不同层级分层。
例如:
.
├── about
│   └── index.md
├── learning
│   ├── _index.md
│   └── VsCode插件手动安装.md
├── license
│   └── index.md
└── life
    ├── first.md
    ├── _index.md
    └── welcome.md
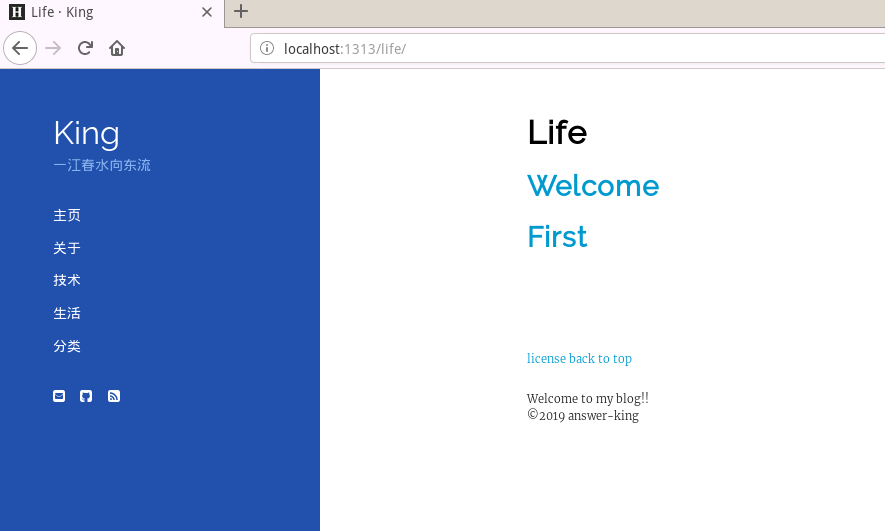
包含about 、learning、license、life四个文件夹,每个文件中包含不同的文档。index.md文件和_index.md文件是hugo的一种特殊文件,包含index.md表示当前目录是叶结点,不存在子目录,包含 _index.md文件表示可以存在子目录。
同时,需要修改data文件中menu.toml文件的配置,如下:
[learning]
    Name = "\u6280\u672f"
    Title = "Show list of posts"
    URL = "/learning"

[life]
    Name = "\u751f\u6d3b"
    Title = "Show list of ttests"
    URL = "/life"

[topics]
    Name = "\u5206\u7c7b"
    Title = "Show list of tags"
    URL = "/topics"

[about]
    Name = "\u5173\u4e8e"
    URL = "/about"
运行结果:
2、添加标签、分类
config.toml配置中可以看到标签的配置信息
[taxonomies]
    topic = "topics"
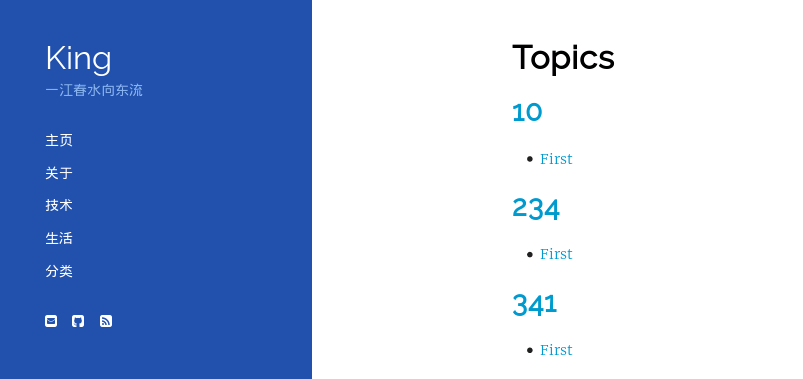
然后在每个文档前面添加对应的标签信息
---
title: "First"
date: 2018-09-14T14:31:34+08:00
draft: false
topics: ["10", "234", "341"]
---
运行后结果可以看到:
四、hugo调试与部署
1、调试
hugo调试支持边修改边调试,运行hugo server后,修改相应文件,在浏览器中可以看到对应的变化
2、GitHub部署(这里以GitHub上部署为例)
GitHub上创建对应用户名的软件仓库(一定要与用户名相同),然后编译hugo静态网页文件,会生成public文件,将整个public文件上传到对应仓库中即可,这个仓库用户发布正式版本。
注意指定config.toml中–baseUrl=“http://用户名.github.io”
cd public
git init
git remote add origin https://github.com/用户名/用户名.github.io.git
git add -A
git commit -m "first commit"
git push -u origin master